Once again this year I made a few more paper globe ornaments. I have this thing for paper . . . and instead of scrapbook paper I'm using Christmas cards from Christmas's past. What a great way to put these treasures to use and to honour the people who have taken the time to send cards to me over the years. These are just so simple to make (see tutorial at end of post) and they give me so much pleasure. I'm hoping they become cherished heirlooms someday. You can add sparkle to the edges, a tassel, just anything you can think of. Here I've added little red and gold gems just to give it a bit of bling.
 |
| my handmade paper globe ornament from Christmas cards past |
Here's a quick 'how-to'
Use a punch to cut 20 - 2 inch circles. Make an equilateral triangle out of brown cardstock that is 1 3/4 inches on all sides. The angles of an equilateral triangle are 60 degrees.

Use it to make three marks on your circle to use as a guide for folding. Score, and then fold up the three sides of your circle. You can use a bone folder and a ruler to score, but I use my small paper cutter with the blunt folding blade - but use it ever so lightly or you will cut through the paper.
 |
| mark the three points on your circle using the paper triangle, remove the paper triangle and score along the triangle edges using the marks you just made as a guide - then fold up the sides of your circle as shown above |
 |
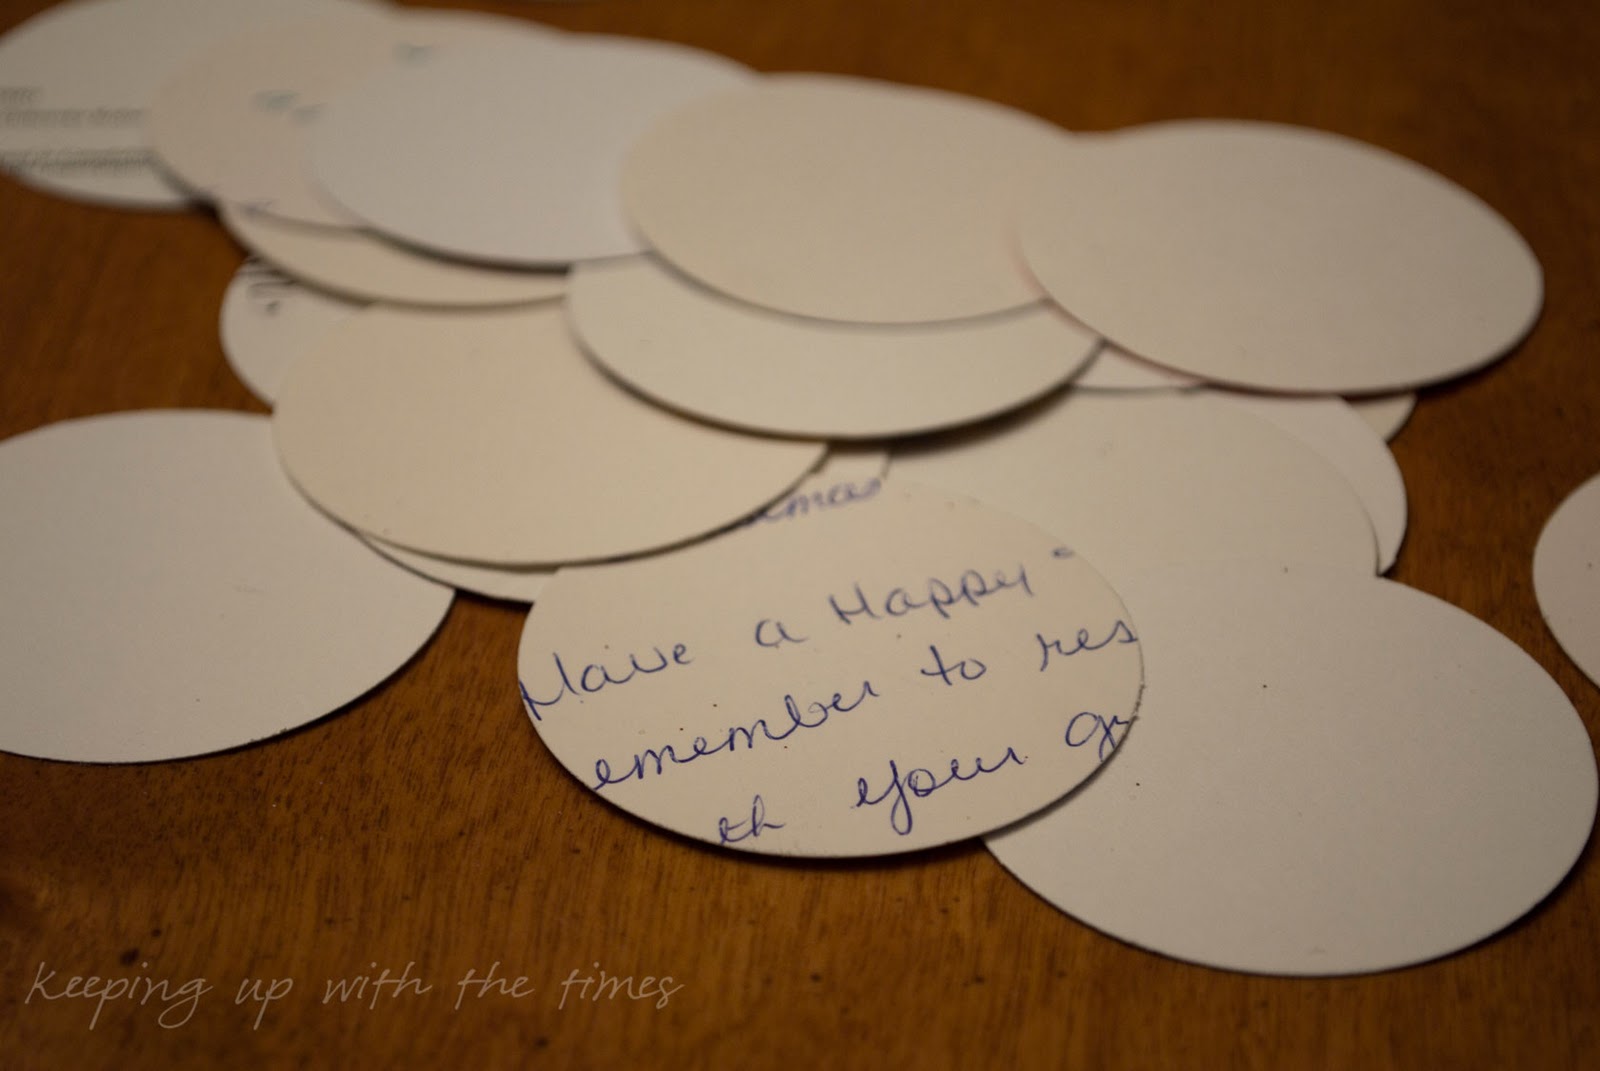
| how neat to have a message handwritten inside! |
 |
| fold as shown |
 |
| glue 5 circles together as shown above to make the top and bottom domes of the ball then glue 10 circles in a line to create the middle part of the ball - add a ribbon holder to one of the domes as you are gluing it together |
 |
| glue the top and bottom to the middle |
 |
| voila! |
Let dry for 15 minutes or so, then hang on your tree and enjoy!
Photo Show-Off Ornaments at love bug Craft Catwalk at Embellishing Life Create and Inspire at
A Little Inspiration Saturday Night Special at
Funky Junk Interiors Home for the Holidays at
The Corson Cottage Inspiration Friday
At The Picket Fence Show and Tell at
Blue Cricket Design Handmade Ornaments at
The CSI Project Holly Bloggy Christmas at
The Shabby Creek Cottage Ornaments Party at
naptime creations Whatever Goes Wednesday at
Someday Crafts Wow us Wednesday at
Savvy Southern Style Christmas Scapes at
It's Overflowing Home for the Holidays at
Uncommon So Crafty Tuesday at
Shop Ruby Jean Take a Look Crafts at
Sugar Bee Crafts Show Me What Ya Got at
Not JUST a Housewife Tutorials and Tips at
Home Stories A to Z Tuesday's Treasures at
My Uncommon Slice of Suburbia Tip Me Tuesday at
Tip Junkie Craft Catwalk at
Embellishing Life Nifty Thrifty Tuesday at
Coastal Charm DIY Holiday Ornaments at
Centsational Girl Christmas Trees/Ornaments at
Craft-O-Maniac Nifty Thrifty Sunday at
{nifty thrifty things} Sundae Scoop at
I Heart Nap Time The Saturday Seven at
Positively Splendid Voila! at
The French Cupboard Pity Party at
Thirty Handmade Days Frugal Friday at
The Shabby Nest Friday Flair at
Whipperberry Weekend Wrap Up at
Tatertots and Jello Show and Tell Saturday at
Be Different . . . Act Normal Creating Christmas at
The Girl Creative


So wonderful ! Thank you very much for the "receipt" to be creative and doing it myself. Great capture !
ReplyDeleteI think your ornaments are special. I love them. You also do a super neat job!
ReplyDeleteI'm so glad you dedicated a post to these ornaments. I noticed one of your tree from your post the other day. Totally terrific way to use old Christmas cards. LOvely. By the way, I showed my sister the wreath you made out of the old book pages and she BEAT me to making one! Def on my "to do" list!
ReplyDeleteKathy
I love this idea! The shape is great, the colors are wonderful, and you've found a perfect use for Christmas cards.
ReplyDeletemy sis and i made these when i was young. lots of fun memories!
ReplyDeleteOh, I'm so glad you posted the tutorial for this! I've been thinking of it since seeing it on your previous post, but realized I just didn't have the time to experiment to figure out the right size and number of circles.
ReplyDeleteOoohh I love this idea! These would look cute piled up in a bowl too, maybe I'll try this! Really pretty!
ReplyDeleteThese are darling! I wonder if I can make a few for atop Christmas Packages!?!? Hmm! Better get to work! I'm so impressed! I'm your newest follower and would love it if you'd return the "love" on your next visit!!!
ReplyDeleteXO, Aimee from ItsOverflowing!
PS I'm having my first linky party on 12/13. It will be "Christmas Scape" themed, tablescape ~ landscape or anywhere else in you home that you've added a touch of Christmas! I'd LOVE for you to link up! My blog is http://www.itsoverflowing.com/.
Such a fabulous idea to use the old cards, and I love the addition of the rhinestone. Great tutorial, thank you.
ReplyDeleteI love these so much! I might try to make them with the kids next week! I have saved Christmas cards from past years (I don't know why), but they are perfect for this!!
ReplyDeleteJo
these are delightful, thank you so much for giving us the gift of "how to"...I have so many cards from past years, now I know what to do with them.
ReplyDeleteFABULOUS project- I am writing down the directions for my kids to do this over this weekend! Thanks!
ReplyDeleteI haven't seen these in years! Love it!
ReplyDeleteWonderful to see.. and I to am taking notes to share...
ReplyDeleteThank you xx
So pretty Barb and I agree ~ what a wonderful way to remember those who sent cards from years past. Truly unique and so personal.
ReplyDeleteCindy
These are WONDERFUL Barb, and thank you so very much for sharing the how-to!
ReplyDeleteThank you so much for stopping by -- I love making new friends, and I am your newest follower.
ReplyDeleteI sincerely enjoyed looking back through your blog -- you are such a talent and so creative. I bookmarked this post because I have wondered what on earth I could do with all the gazillions of Christmas cards from years gone by, both mine and from my mother's collection. I think these globes are inspired.
I look forward to seeing what else you do.
ETS
when I began reading, and you stated that it was simple I thought to myself "oh yeah right". but your tutorial is easy to follow and I actually think I could do this! you make everything look easy. and I love this idea. I have a friend who saves everything, and I'm passing this idea along to her. thanks for sharing. and your tree is absolutely stunning! happy weekend to you Barb.
ReplyDeleteWow, Barb, what a great idea. I always hate throwing out the cards. I keep the pictures, though. I'll have to keep em now.
ReplyDeleteA wonderful and clever idea. Thank you so much for the tutorial.
ReplyDeleteI'll have to try it for next year.
Such fun! Love that you shared the pattern as well!
ReplyDeleteI remember now making these many years ago with my boys. So much fun, a way to preserve past holiday cards and recycling to boot! So pretty!
ReplyDeleteWhat a wonderful idea- thank you for sharing how to make them. It's always enjoyable looking at your creations- you have a real skill and your results consistently looked polished and stylish.
ReplyDeleteoh I love this idea - going to try this with the kiddos this week
ReplyDeletesuch a great idea, loooove it!
ReplyDeleteLove it! I have always wanted to make one of these.
ReplyDeleteThese are so beautiful! I've never thought to use old Christmas cards. I'd love for you to come by and share this at my linky party, it opens later this evening: http://etcetorize.blogspot.com ~
ReplyDeleteI made these in the 70s and we hung them on our tree so we didn't have to worry about glass around the kids and dog. Yours are gorgeous. We didn't have the glue on jewels in those days.
ReplyDeleteThanks for the memory.
Hugs! and Merry Christmas!!
These are darling!
ReplyDeleteI love these - so many possibilities for ways to personalize! I'm definitely going to give these a try! Thanks for sharing.
ReplyDeleteWhat an awesome tutorial! These turned out so adorable! I hope that you have a wonderful Christmas!
ReplyDeleteThese are GENIUS! Love them and the use of old cards is perfect!
ReplyDeleteThanks for linking up to my party!
XO, Aimee from ItsOverflowing.com
love these! I'd like to invite you over to my Ornament link party and neat giveaway. Hope you can come check it out! http://nap-timecreations.blogspot.com/2011/12/ornamentsparty-giveaway.html
ReplyDeleteI loved how you've made something so beautiful with so many well wishes. I browsed through on the weekend but knew I had to come back to look through this post more slowly. I might try this one of these days. Love it!
ReplyDeleteThis is a such a beautiful and great idea! WHat a great way to reuse as well.
ReplyDeleteLove for you to share it at my linky party here: http://www.jaqsstudio.com/2011/12/made-by-me-10-linky-party-and-features.html
OKAY!!! that is just way beyond AMAZING!!!! I am so glad you stopped in at http://shoprubyjean.com/2011/12/sew-crafty-tuesday-linky-party1/ and linked up this amazing project... I hope to see you again next week!!
ReplyDeleteSuch a great idea! I'm planning on making some of these from baby shower cards we've received for our little one and make a mobile out of it.
ReplyDeleteI always hate throwing away cards, but then they just sit in a drawer forever. Great alternative!
These are wonderful! I always hate throwing out the last years Christmas cards. This would be a great keepsake to use your own family holiday cards as well. Great job!
ReplyDeleteVery pretty! I used to make these years ago when I was little @ church!! I posted a link to this on my blog: http://thecraftbarn-ny.blogspot.com/2011/12/crafty-friday-121611.html thru my pinterest board.
ReplyDeleteThanks!
Jennifer @ The Craft Barn
made these in school many years ago I believe my mother still has mine come see me at http://shopannies.blogspot.com
ReplyDeletelook at how wonderful these are! Thank you for sharing these on my photo show off! I can't wait to try them with my son!
ReplyDeleteAmy
love-bug-blog.com
What a wonderful idea! I found this through LoveBug's site! I can't wait to make these with the cards I got this year, to hang them for next year!
ReplyDeleteI love this little tree. What a great card. I have to agree, the colors are so fun and festive.
ReplyDeleteScratch Card printing
Custom Gift Cards
Clear Business Cards
Hi Barb! Just wanted to let you know that I picked these for the Photo Show Off!! They are just wonderful :) Here's a link if you'd like to see. Please grab a show off button while you are there!
ReplyDeletelove-bug-blog.com/photo show off
Amy